Why was live ammunition on the set of the movie ‘Rust’?
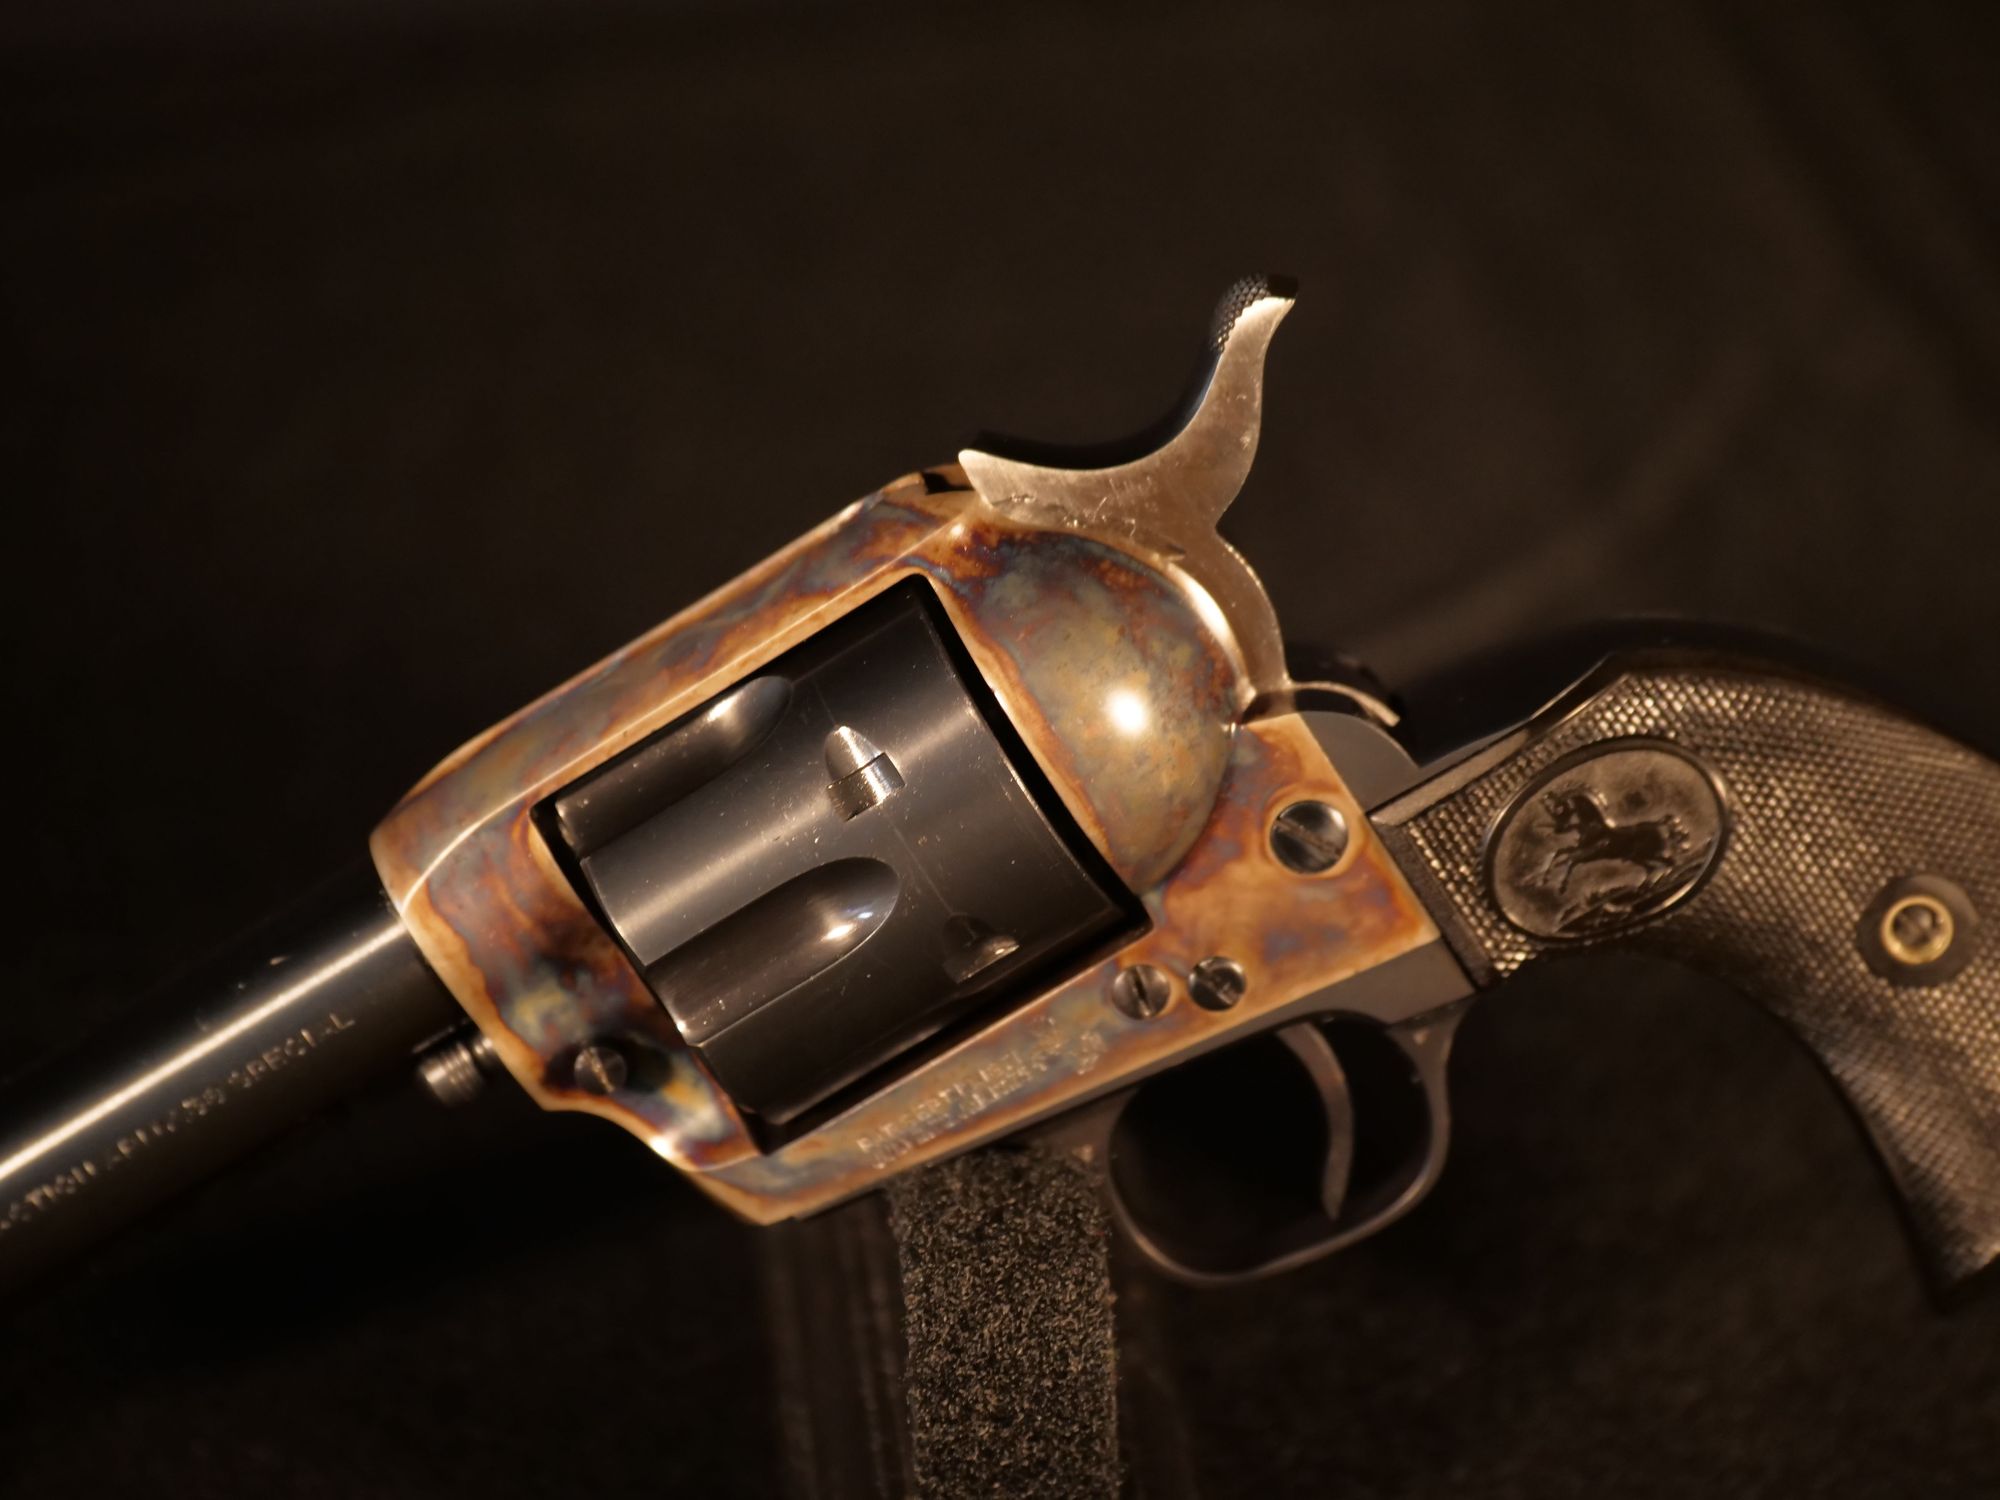
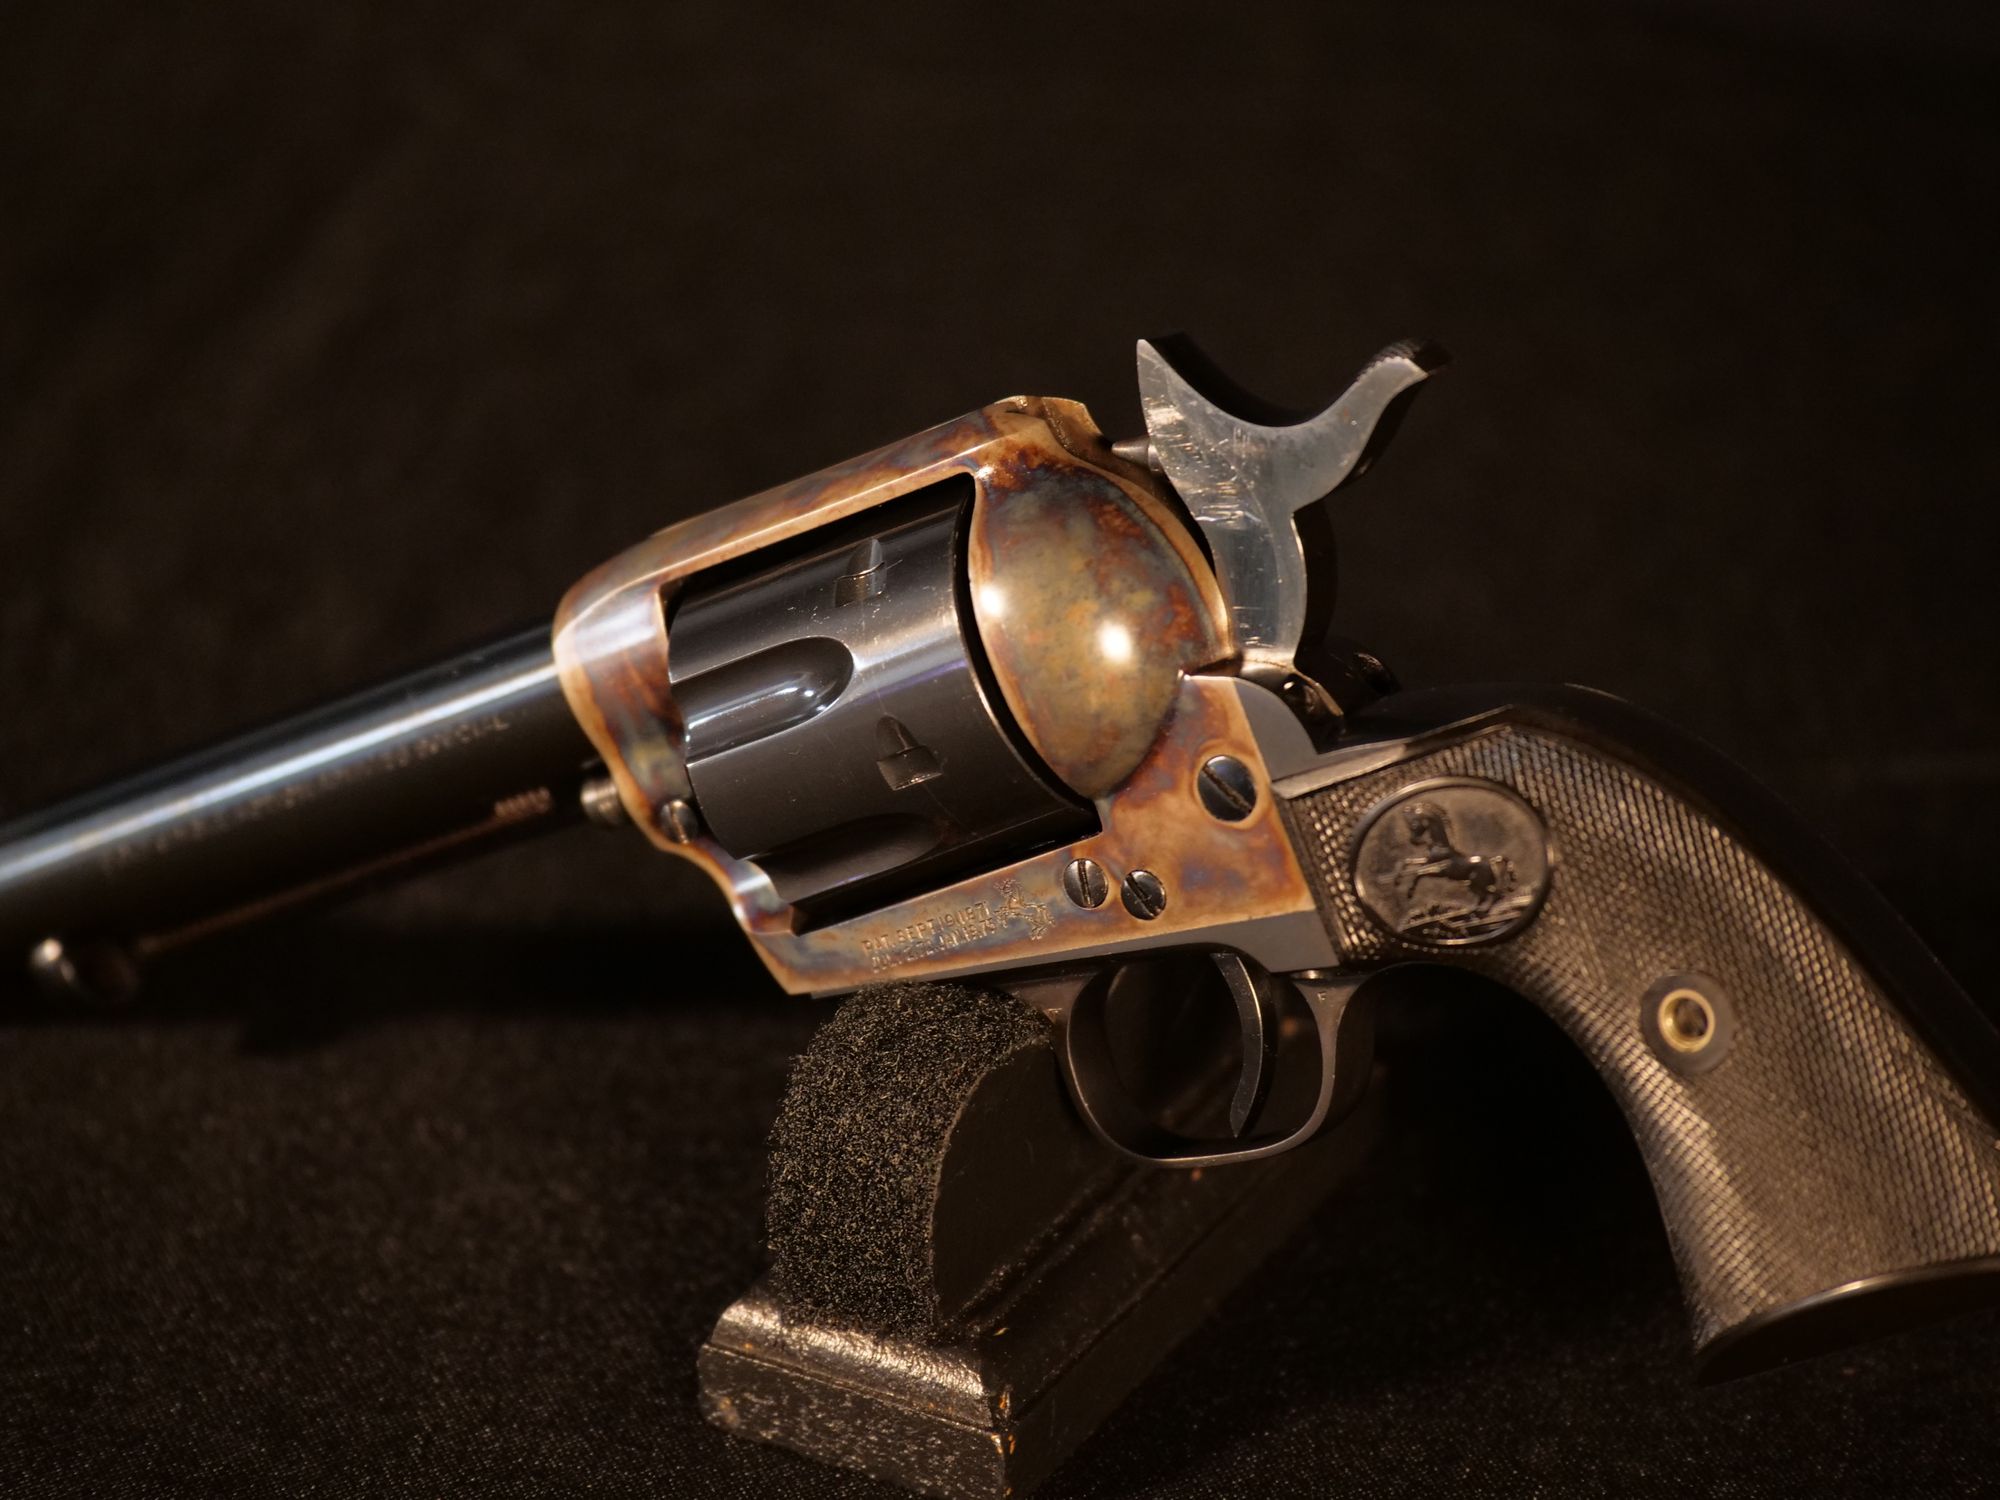
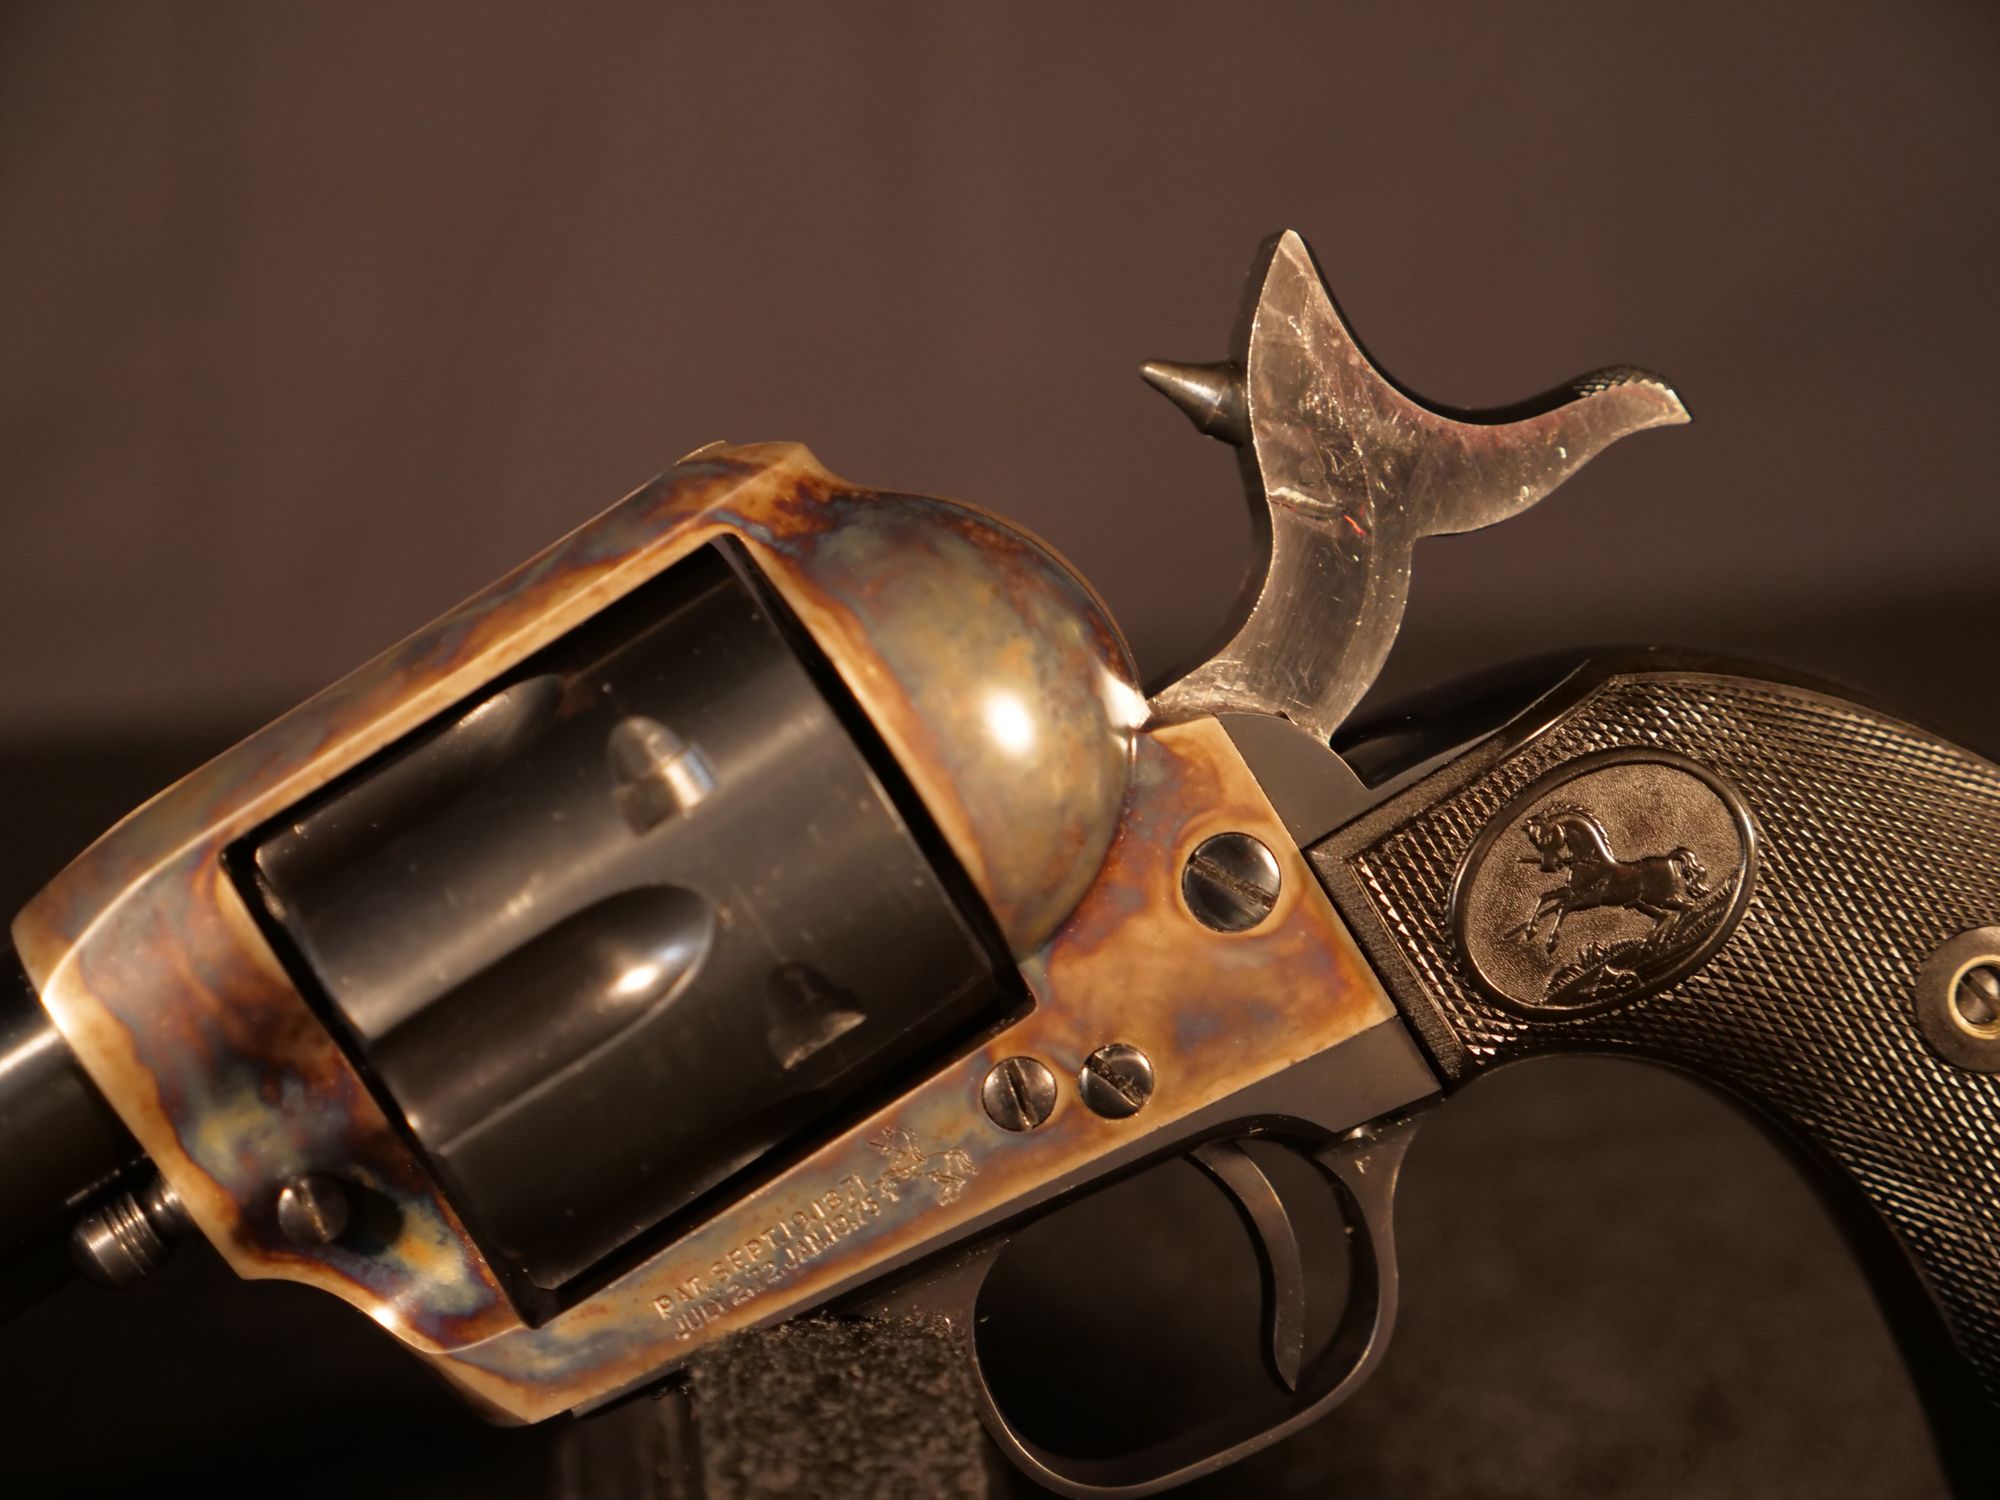
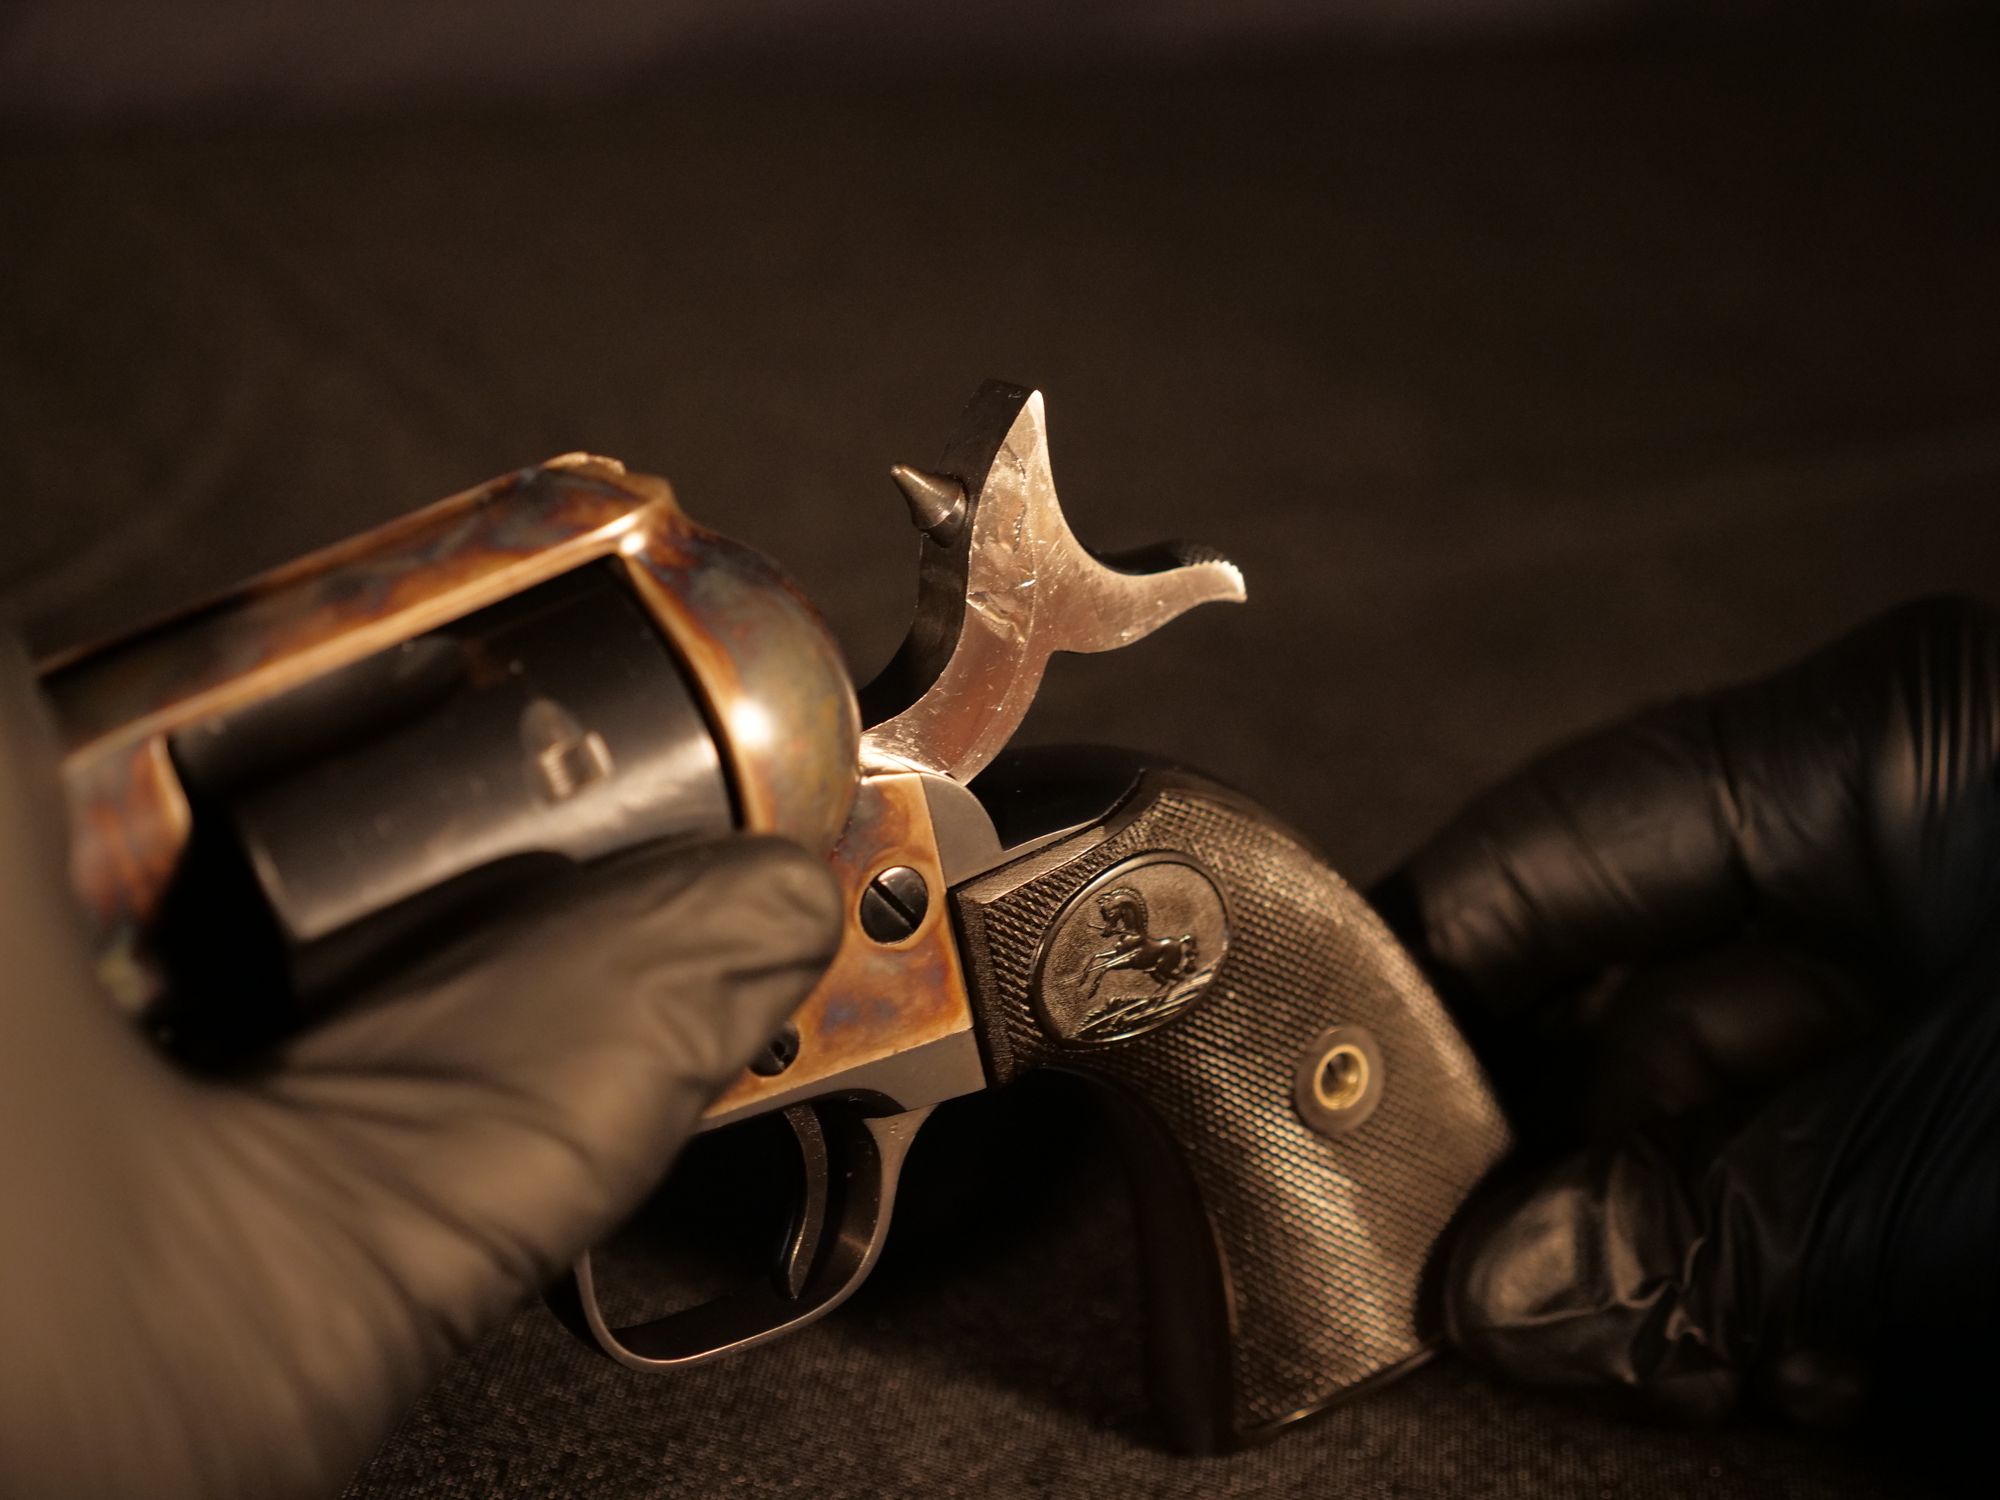
The firearm was a Colt replica F.Ili Pietta single action long Colt 45 revolver.The hammer must be “cocked” i.e., pulled all the way back before the trigger will operate. While being pulled back the hammer makes four distinct “clicks”.
So three actions are necessary to fire a love round in the gun. First a live round must be loaded into the gun. Second, Third, Fourth and Fifth, THE HAMMER MUST BE FULLY COCKED which requires four notches to be engaged before Sixth, the trigger can release it and fire the gun. The trigger must be pulled to release the hammer to hit the primer to fire the bullet so the bullet can leave the gun!
BUT… BIG BUT HERE…. Can The Gun Fire A Bullet If The Hammer Is Almost Pulled All The Way Back And Released?
In other words, can a round be actuated if the hammer is almost cocked but not fully cocked?
If so, perhaps Baldwin merely pulled the hammer back but not all the way and let it go or his finger slipped off the hammer before it was fully conked but was cocked enough to fire a round. Also, if the hammer was fully cocked and the gun merely bumped would the hammer release and the gun fire? Was the hammer cocked when the gun was handed to Baldwin? If so, in addition to whoever put a live round in the cylinder someone fully cocked the hammer and that person is in the deadly sequence of tragic events that killed Halyna Hutchins. I’m gonna get one of these guns an find out. Stay Tuned!!
**************************************
Single Action Revolver Safety and Handling
There are usually four audible “clicks” when cocking the hammer on a Single Action revolver.
REPEAT THAT!!
THERE ARE USUALLY FOUR AUDIBLE “CLICKS” WHEN COCKING THE HAMMER ON A SINGLE ACTION REVOLVER!!
FOUR CLICKS TO COCK THE HAMMER….
REMEMBER!!
THE HAMMER MUST BE FULLY COCKED BEFORE THE TRIGGER CAN BE PULLED!!!!
ALL THAT MAY MAKE IT EVEN WORSE FOR ALEX BALDWIN…
1. The first notch (1st click) is commonly called the “safety notch”. In the late 1800’s it was common practice for the U.S. Army to carry a single action revolver with six rounds and the trigger in the “safety” notch. However, this is not considered a “safety” now days. This notch is fragile and could break if the firearm was dropped on the hammer. This could cause the revolver to fire. There are no known incidents of this happening, but it doesn’t mean it can’t happen. Some people carry a single action revolver with six rounds loaded and the hammer in this “safety” notch. This is not recommended, at all, ever! Pulling hard on the trigger when it is in this notch will bend or break the notch and/or the trigger.
2. The second notch, (2nd click) is the “Loading Notch”. The firearm can be loaded when the hammer is in this position. Load one cartridge, skip a chamber, then load the remaining four cartridges. Immediately cock the hammer all the way back and then let it down very softly. You will be on the empty chamber. After firing all FIVE rounds, pull the hammer to the second notch (2nd click) release the cylinder and use the ejector rod to eject the spent casings. When all casings are ejected, cock the hammer all the way back and then let the hammer down very slowly. NEVER let the hammer down from the loading notch. If you let the hammer down from the loading notch and not the “Full Cock”, you will scar the outside of the cylinder as the gun is now out of time. Always pull the hammer all the way back and then let it down. Pulling hard on the trigger when it is in the loading notch will bend or break the notch and/or the trigger.
3. The third “click” is not a notch. This is the sound of the bolt snapping up and hitting the cylinder in the “lead” groove. The bolt will ride in lead as the hammer is pulled farther back and then will pop into the “cylinder notch”.
4. The fourth click is the sound of the trigger falling over the hammer sear on the hammer and simultaneously the bolt dropping into the notch on the cylinder. The firearm is now ready to fire. Pulling the trigger will cause the firearm to discharge. There is NO SAFETY when the hammer is pulled all the way back. Never pull the hammer to this position when the gun is loaded unless you intend to fire the firearm. If you wish to not fire the gun when the hammer is fully back, you must proceed with extreme caution. Point the firearm in a safe direction. Lower the hammer all the way down, very carefully, as you will now place the firing pin directly on a primer of a live cartridge. Now carefully pull the hammer to the second notch (click) and proceed to unload the firearm or cardfully rotate the cylinder until it is one chamber from the empty chamber and then proceed to cock all the way and then let the hammer down on this empty chamber. Some people lower the hammer to the “safety notch” from full cock, don’t do this. Many Colt and Replica revolvers will lock up if you do this because the bolt leg has not re-set over the hammer cam.
5. You can hear five clicks on many revolvers if you cock them very slowly. This is not always a bad thing. It can mean the trigger is short and you need a new one. You need to call a gunsmith if your revolver has five clicks or the trigger pops forward way before the bolt locks into the cylinder notch.
When you pull the hammer back and place the trigger in the first notch,”safety notch”, the firing pin must not be seen coming through the recoil shield, at all. If it does, you have a worn trigger and a very dangerous condition with this revolver. This would mean the firing pin will rest on a live round if you load six rounds and try to use the first notch as a “safety” notch. Discharges have been known to happen with the trigger in the “safety” position, and the trigger worn short. Please check this on all your SAA revolvers. A short trigger will also cause the chambers to be out of alignment when loading as well as other timing issues.
** Caution #2: When a Single Action revolver is at full cock, never let the hammer down to the loading or safety notch.
LOAD ONE SKIP ONE
A safe way to load a single action revolver
Load one cartridge, skip one chamber and then load four more. Now fully cock the hammer all the way back and let it down slow and easy. The hammer will be resting on an empty chamber.
It is a good idea to buy five “dummy” cartridges and practice the loading and unloading of a single action revolver if you have never handled one before.
*******************************************
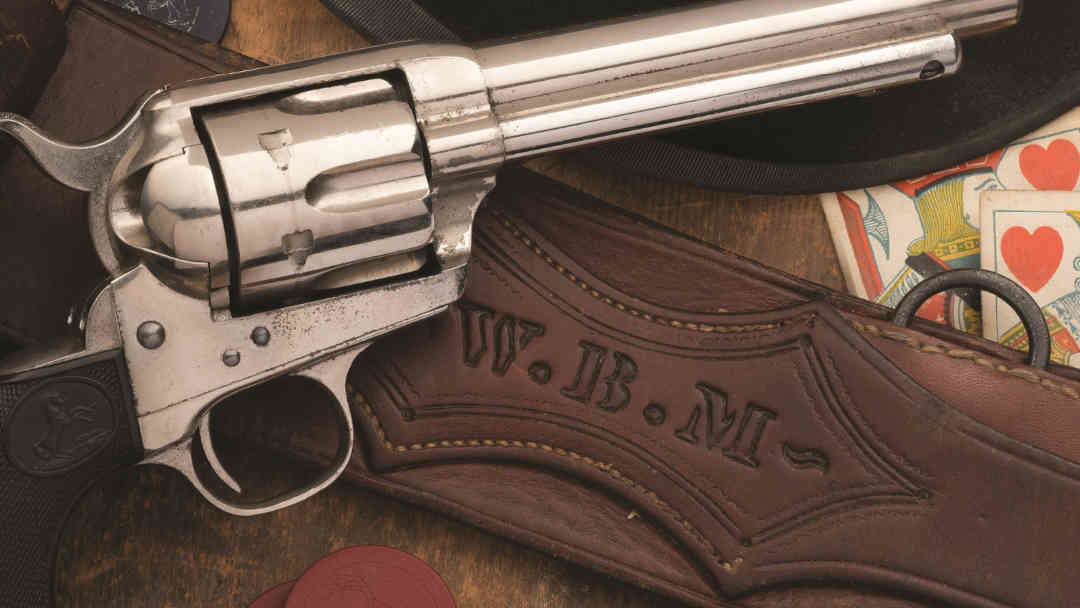
Here’s some info on a similar Single Action Gun.
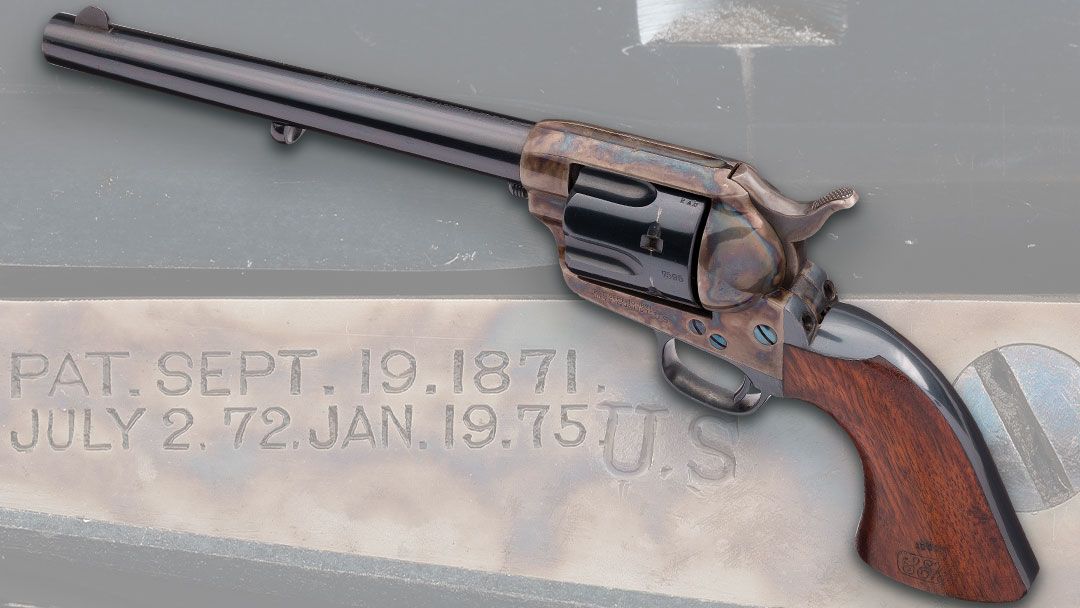
David F. Clark sub-inspected Colt SAA (Single Action Army) revolver with Gold Seal Kopec letter.
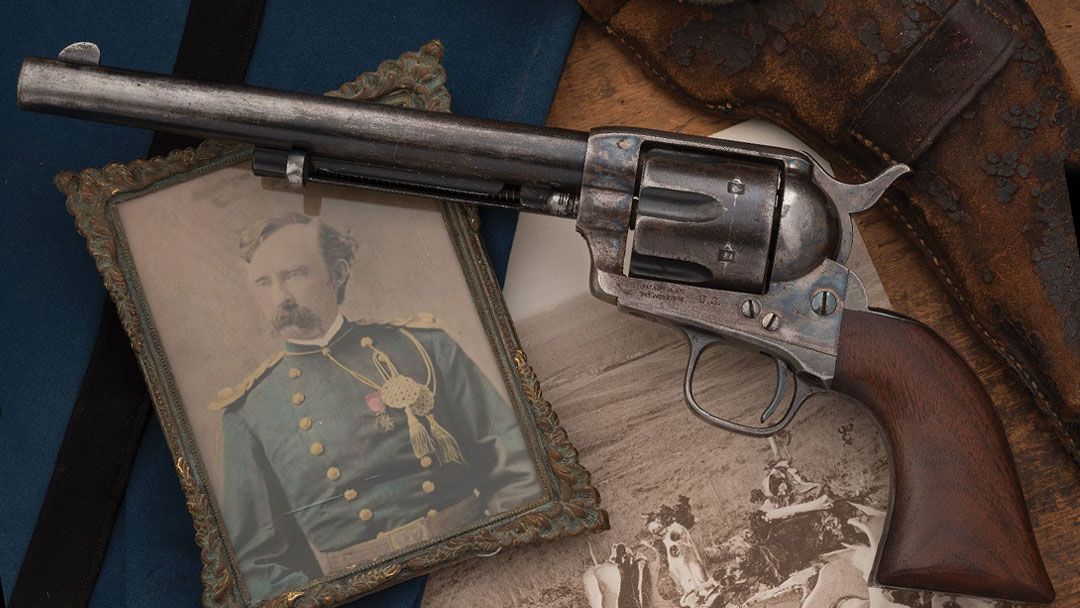
What follows is a basic procedural rundown on function checking a Colt Single Action Army (SAA) revolver, (a gun similar in operation to the Pieta that killed Halyna Hutchins.) Barring aftermarket alteration, this procedure would be applicable to all major variants of the SAA, such as the Bisley, Buntline, Flattop and others, as well as faithful reproductions made by a number of firms both foreign and domestic. This does not fully apply to weapons that copy the exterior of the SAA but modified the internal mechanics (such as Ruger’s single action line), or to SAAs and faithful copies that have been subjected to significant modification.
Step 1: SAA Basics
As always, begin by confirming that the revolver is unloaded. With a Colt SAA, there is enough space between the rear of the cylinder and the recoil shield to permit a check for cartridges before adjusting the hammer. An important second step before proceeding is to check the cylinder for drag lines. Found on the exterior of the SAA cylinder, drag lines are caused by unwanted rubbing or contact against the cylinder during rotation normally caused by dirt or debris. The most common drag line is between the cylinder stop notches, either as a set of six short lines or a continuous ring around the entire diameter, but can also be found in other locations.
A vintage SAA with no visible drag lines does not require any further function testing. Confirming function on a pristine revolver doesn’t merit justifying the risk of harming that untouched surface, which can dramatically increase the value for collectors due to the extreme commonality of drag lines on even well cared for pieces.
Lot 2466: David Harris Engraved 1st Generation Colt SAA Revolver with examples of drag lines
Step 2: The SAA Hammer
Next comes the hammer, often posed to us regarding SAA revolvers as “how are the clicks?” These clicks (known as the “four clicks”) are a distinctive set of sounds made when drawing back the hammer of the gun from the fully lowered position to the fully cocked position. If working properly, the first click should be heard when the safety notch on the hammer engages, the second click when the half-cock notch engages, the third when the SAA cylinder stop pops up to engage the notches (note: the stop pops up before the cylinder has completed its rotation, hence why partial drag lines are found even on otherwise nice SAA revolvers), and the fourth when the hammer reaches full cock and the stop drops into the appropriate cylinder notch near simultaneously.
A 1891 production Colt SAA Cavalry Model in near mint condition.
Failure to produce an audible click at each stop, too many clicks, or other noises produced during cocking are all signs of possible damage. While the SAA hammer check is performed, be mindful of the mainspring; looseness or excessive resistance both indicate trouble, the former from a badly worn, broken, or absent mainspring, and the latter a mainspring that is losing ductility, which could potentially become brittle and break during operation.
Hammer resting position on a Colt Colt SAA revolver.
Click One
The SAA safety notch, which produces the first click, is a short distance back from the resting position of the hammer. The design is meant to keep the firing pin from protruding through the recoil shield and potentially contacting the primer of a cartridge. While, in theory, a live round could be kept under the hammer set on the safety notch, the best practice for revolvers not equipped with a transfer bar or similar safety device is to leave an empty chamber in line with the hammer until shooting is just about to begin. When the hammer is on the safety notch, three things should be true:
The firing pin should not be visible through the recoil shield when viewed from the side with a good light source.
The hammer should not move if the trigger is pulled.
The cylinder stop should still be engaged to the cylinder, preventing rotation.
Hammer stop on first click typically seen on a Colt Colt SAA revolver.
Failure on any of these points indicates that something is wrong with your SAA. Point one and point two would both suggest damage, while the third would suggest that the safety notch is completely gone, and the first click was actually the half-cock.
Click Two
Click number two, the half cock notch, is about halfway between resting and full cock. This is the loading position for the SAA, permitting access to each chamber in turn without having to fiddle with the hammer during the process. When checking the half cock, note the following:
When pressure is let off the hammer, it should not travel a significant distance forward.
The hammer should not move if the trigger is pulled.
The cylinder stop should be disengaged and the cylinder free to rotate in a clockwise manner as viewed from the rear.
Half cock position of hammer on a Colt Colt SAA revolver.
Much like with the safety notch, failure at any of these points indicate notable wear or a flat out loss of function of the notch. While a failure in the safety notch is more or less made irrelevant by best handling practices, a failure in the half cock notch is more ominous, as it can make the loading process complicated or even dangerous, increasing the chances of a negligent discharge. An SAA with a disordered half cock notch can be physically capable of firing, but is not recommend.
Click Three
Click number three, the SAA cylinder stop, happens shortly before the full cock notch. At this stage, the hammer has not engaged; if released, it will drop back to the half cock (if the trigger is not being held down), the safety notch (if the trigger is not held and the half cock is excessively worn or damaged), or all the way to the resting position (if the trigger is being pulled, or both notches are damaged). Letting the hammer down in a harsh or uncontrolled fashion is sometimes a cause of excessively worn or damaged notches and should be avoided.
Click Four
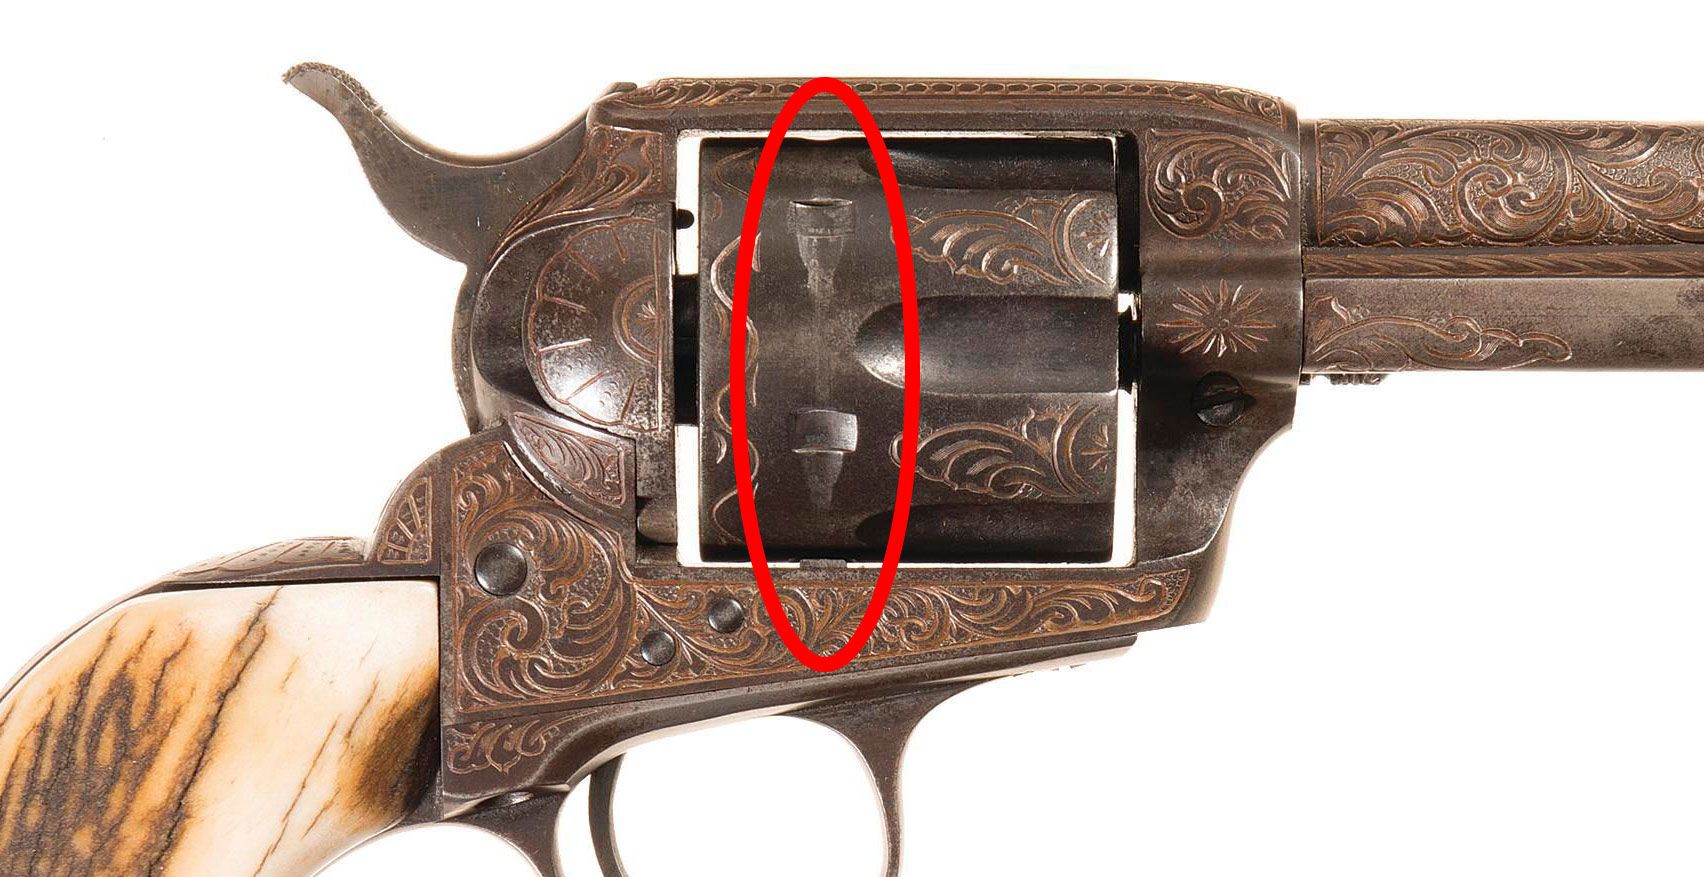
The final click is actually two clicks at once, as the cylinder stop engages the cylinder at about the same time as the full cock notch engages. Being able to hear a “fifth click” suggests that one or the other has gone a bit out of order. With the full cock, note the following:
The hammer should be as close as possible to the maximum possible rearward travel, with no significant “let down” once thumb pressure is removed.
The cylinder stop should be fully engaged, possibly with a small amount of “play” in the cylinder, but not permitting any significant rotation.
When the trigger is pulled, it should move without an excess of force, and the hammer should drop cleanly to the resting position without friction or interference from the other notches, and the cylinder stop should continue to be engaged.
Full cock position of hammer on a Colt SAA revolver.
Failure at this stage could indicate the SAA is non-functioning or is one that is dangerous to shoot. A hammer that hangs up could result in a later-than-expected discharge, and a cylinder that fails to remain properly locked could cause a misfire as the hammer fails to hit a primer. Even worse, it could hit the primer while the bullet is positioned to strike the edge of the barrel throat instead of straight on, causing the gun to explode in the shooter’s hand.
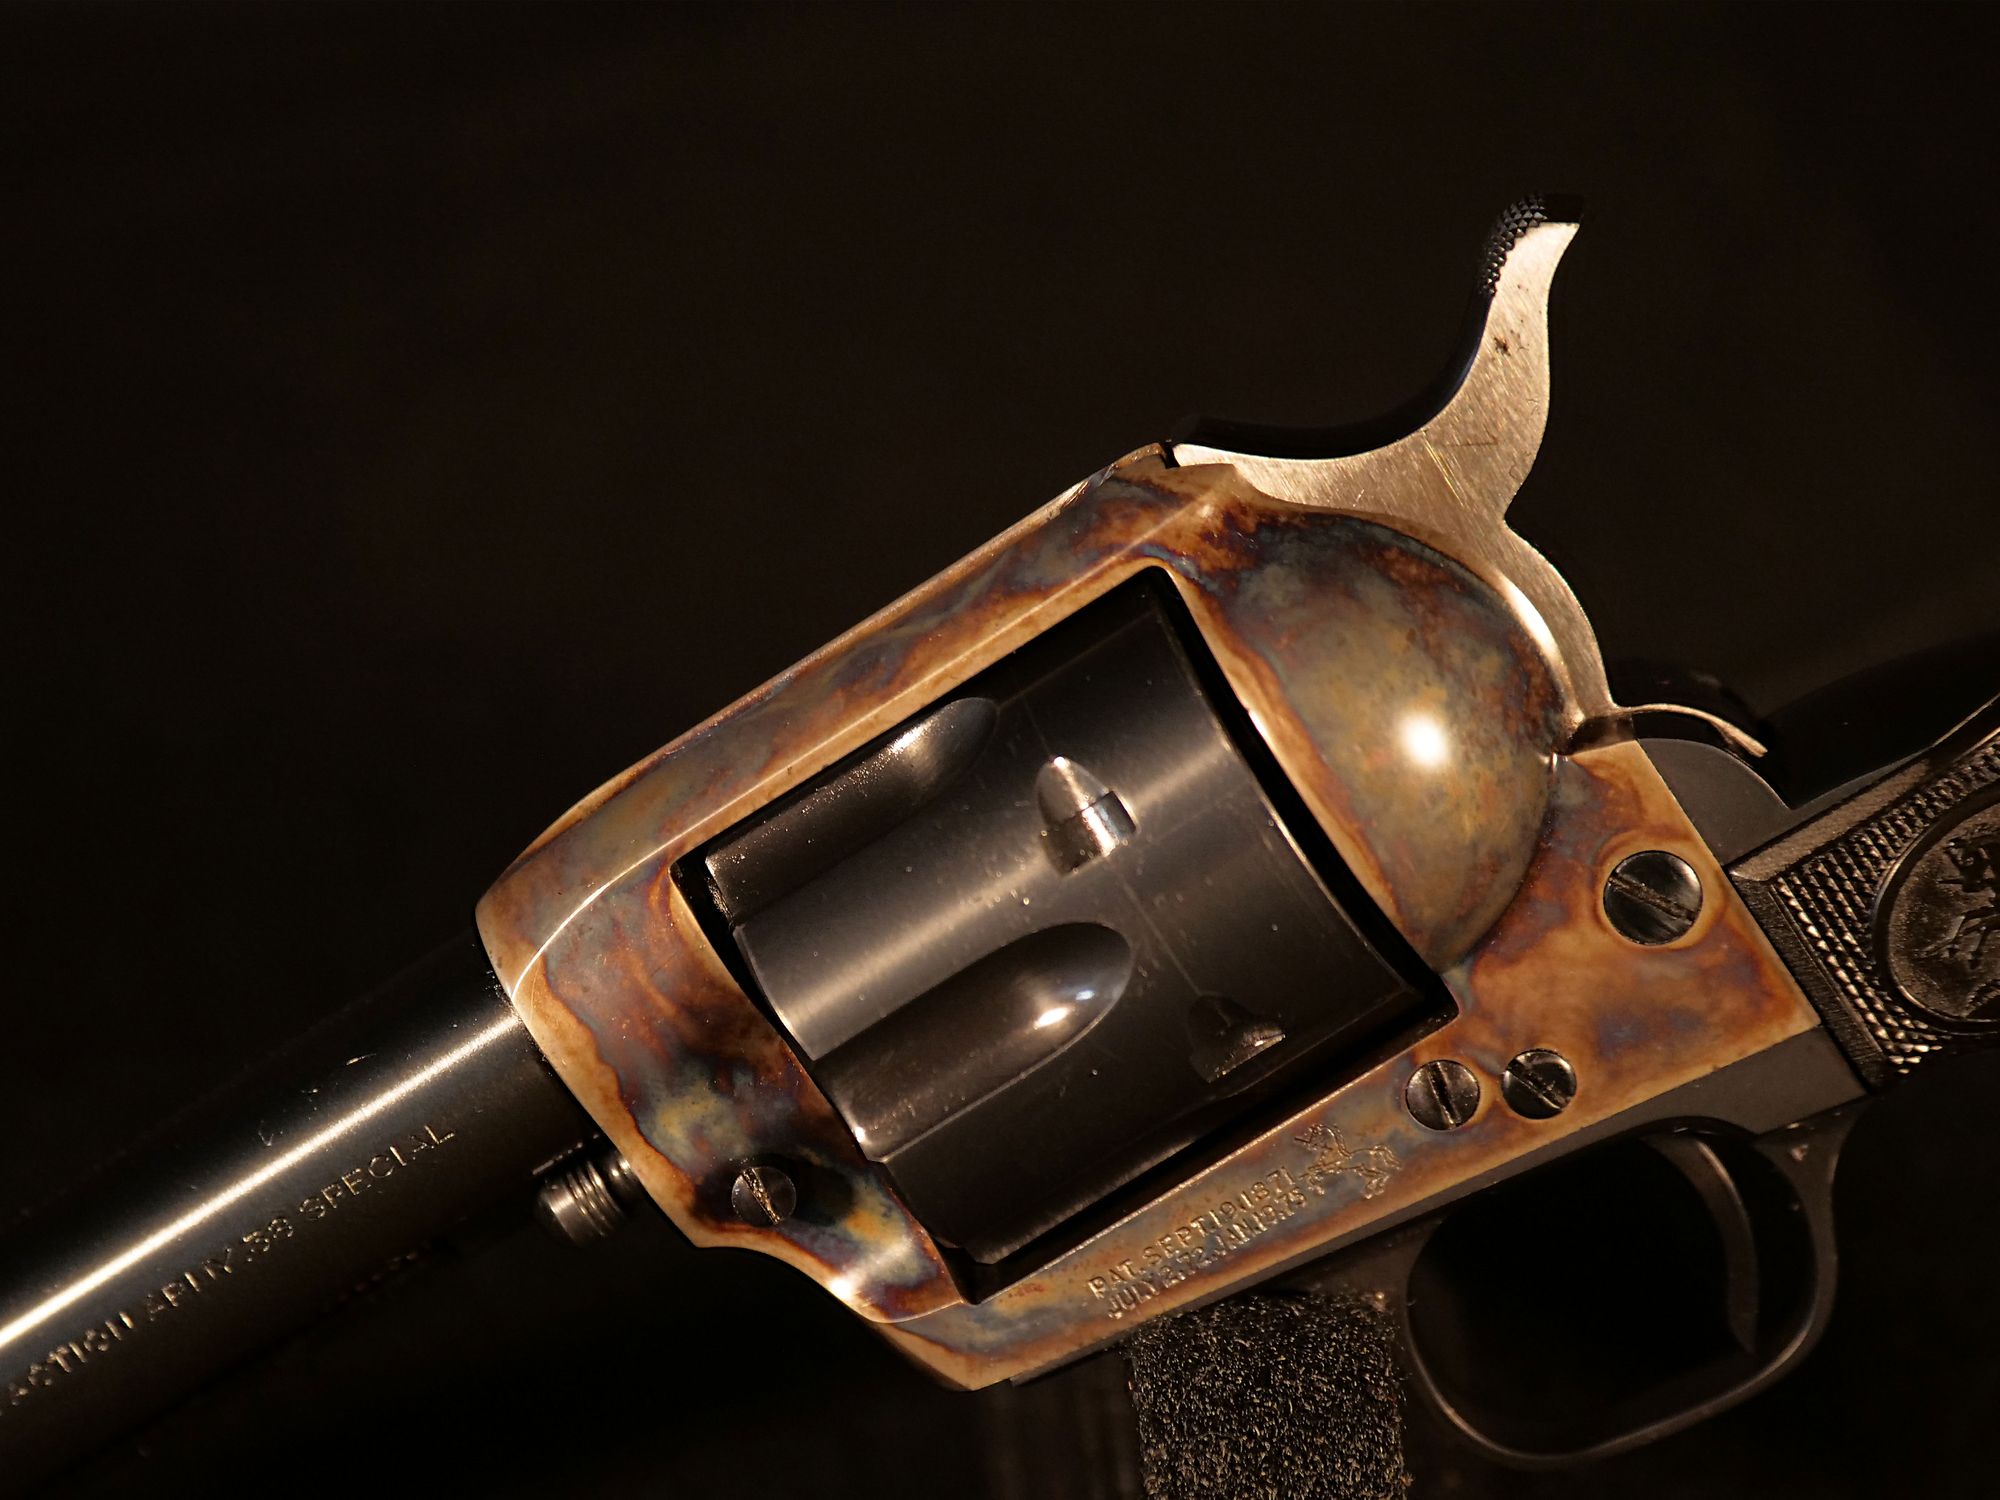
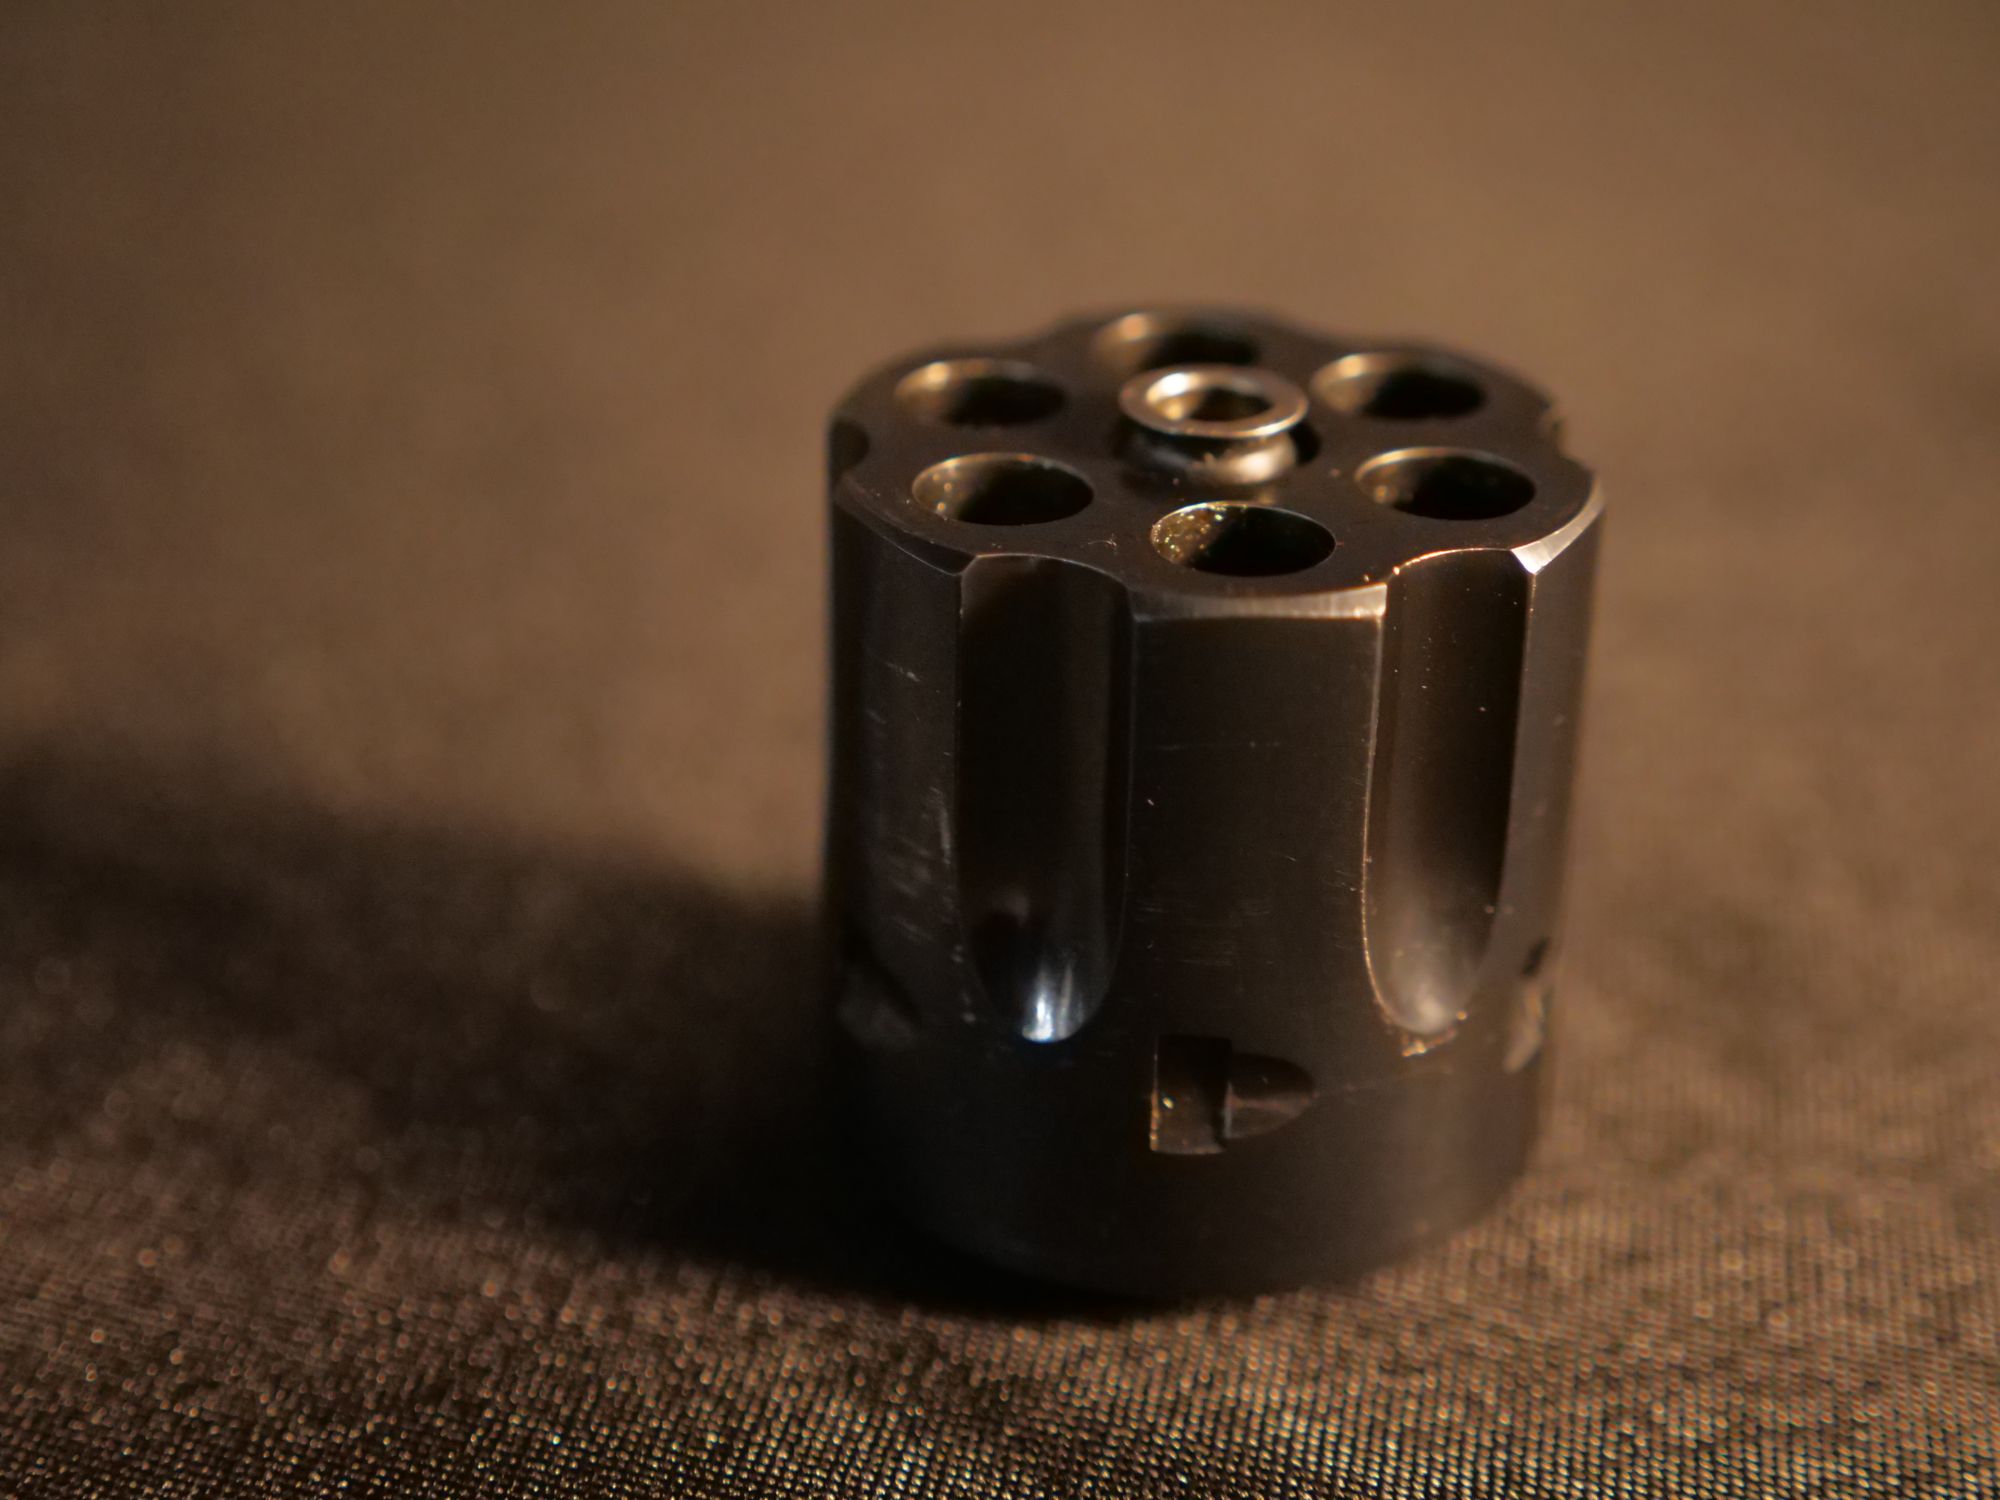
Step 3: The SAA Cylinder
Once the hammer is checked, the cylinder comes next. On a well made revolver (Single Action Army Colts never left Hartford if they weren’t), the cylinder is a subtle yet critical demonstration of precision engineering. The proper engagement of the cylinder to the working parts of the frame is a complete necessity in terms of revolver function.
Typical cylinder found on Colt Colt SAA Revolvers.
In order to make sure the SAA cylinder hasn’t suffered wear or alteration that would affect function, rest a thumb of the off hand against the side of the cylinder, applying light pressure, and then ease the hammer slowly back to full cock. Once the revolver is cocked, try moving the cylinder clockwise and counter-clockwise with said thumb. The cylinder should remain locked, no new clicks should be audible, and there should not be an excess of play in the cylinder.
Gently ease the hammer down, and repeat the process five more times, each time maintaining light thumb pressure and slowly cocking the hammer. An audible click on the clockwise rotation indicates that the cylinder didn’t fully advance to the appropriate stop. Continued rotation clockwise indicates that the cylinder rotated too far, and the stop failed to engage the appropriate notch.
Moving the cylinder of a Colt SAA Revolver using thumb.
A failure in these tests on one or two chambers suggests that the problem is with the SAA cylinder, with an individual stop notch or tooth on the sprocket experiencing wear or damage, but a failure on all chambers suggests that the problem is in the guts of the revolver instead.
SAA Function Check:
Colt Single Action Army revolvers are some of the finest quality and engineered pieces of weaponry ever to be developed by the company. Because of their reliability, durability, and relaxed maintenance, these firearms became insanely popular among collectors and enthusiasts alike as the models became older and older. Not only a dependable method of self protection, but these revolvers are also light, strong, and stunningly beautiful at the same time. The responsibility of owning a Colt SAA mirrors that of a fine watch; careful and meticulous steps must be taken to ensure the firearm performs, appears, and feels authentic.
This rare Colt SAA revolver is only one of four shipped personally to Bat Masterson.
By following these steps, a proper understanding of the functionality and aesthetic of the firearms can be deduced to determine if any further restoration, maintenance, or cleaning is needed. However, every case is different and an inexperienced attempt to function check an SAA could result in serious bodily harm to yourself or others. As with handling any firearm, proceed with extreme caution. If there are any question regarding these methods, purchasing a model, or selling one please contact Rock Island Auction Company.
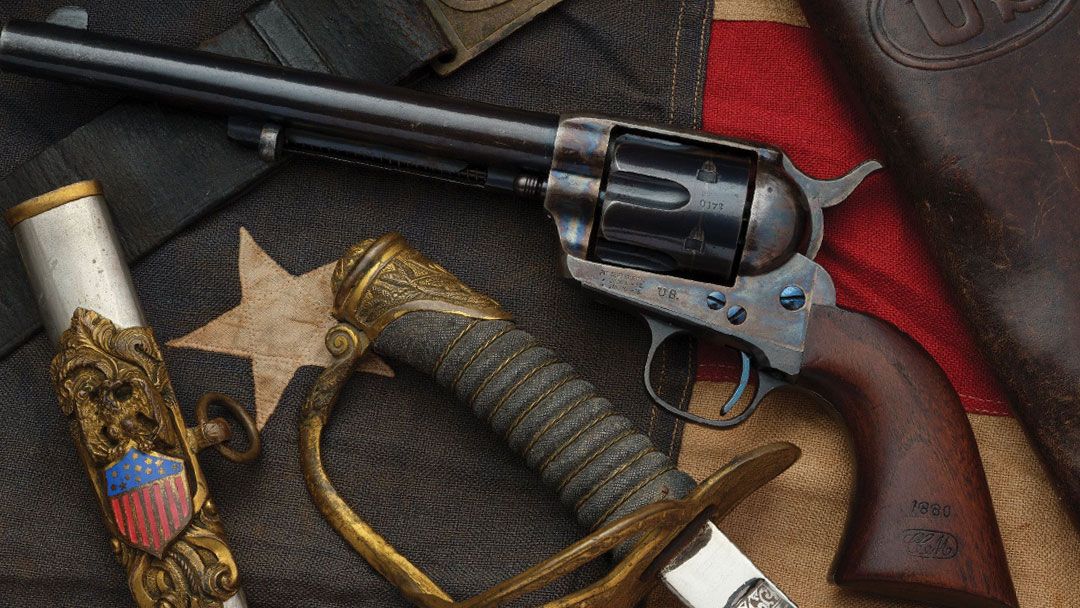
Historic, finest Known “Lot Five” Ainsworth inspected Custer Battle U.S. Cavalry Model Colt SAA revolver with holster and Kopec Gold Seal letter.